You cannot replace the glass in a rental, and in a landmarked building your landlord often cannot either. So how to soundproof old apartment windows comes down to four reversible steps in a fixed order: seal the leaks, stop the rattle, add mass with an air gap behind it, then treat the room. Diagnose before you spend anything.
That order is not arbitrary. A rattling sash and a thin pane feel like the same problem at six in the morning. One costs three dollars to fix and the other four hundred.
This is the old-building companion to our main guide on how to soundproof apartment windows. Everything below is reversible, nothing drills the casing, nothing touches the original glass.
Why old windows leak noise in ways new ones do not
A pre-war or mid-century double-hung has five or six distinct acoustic weaknesses. Working out which ones you have is most of the job.
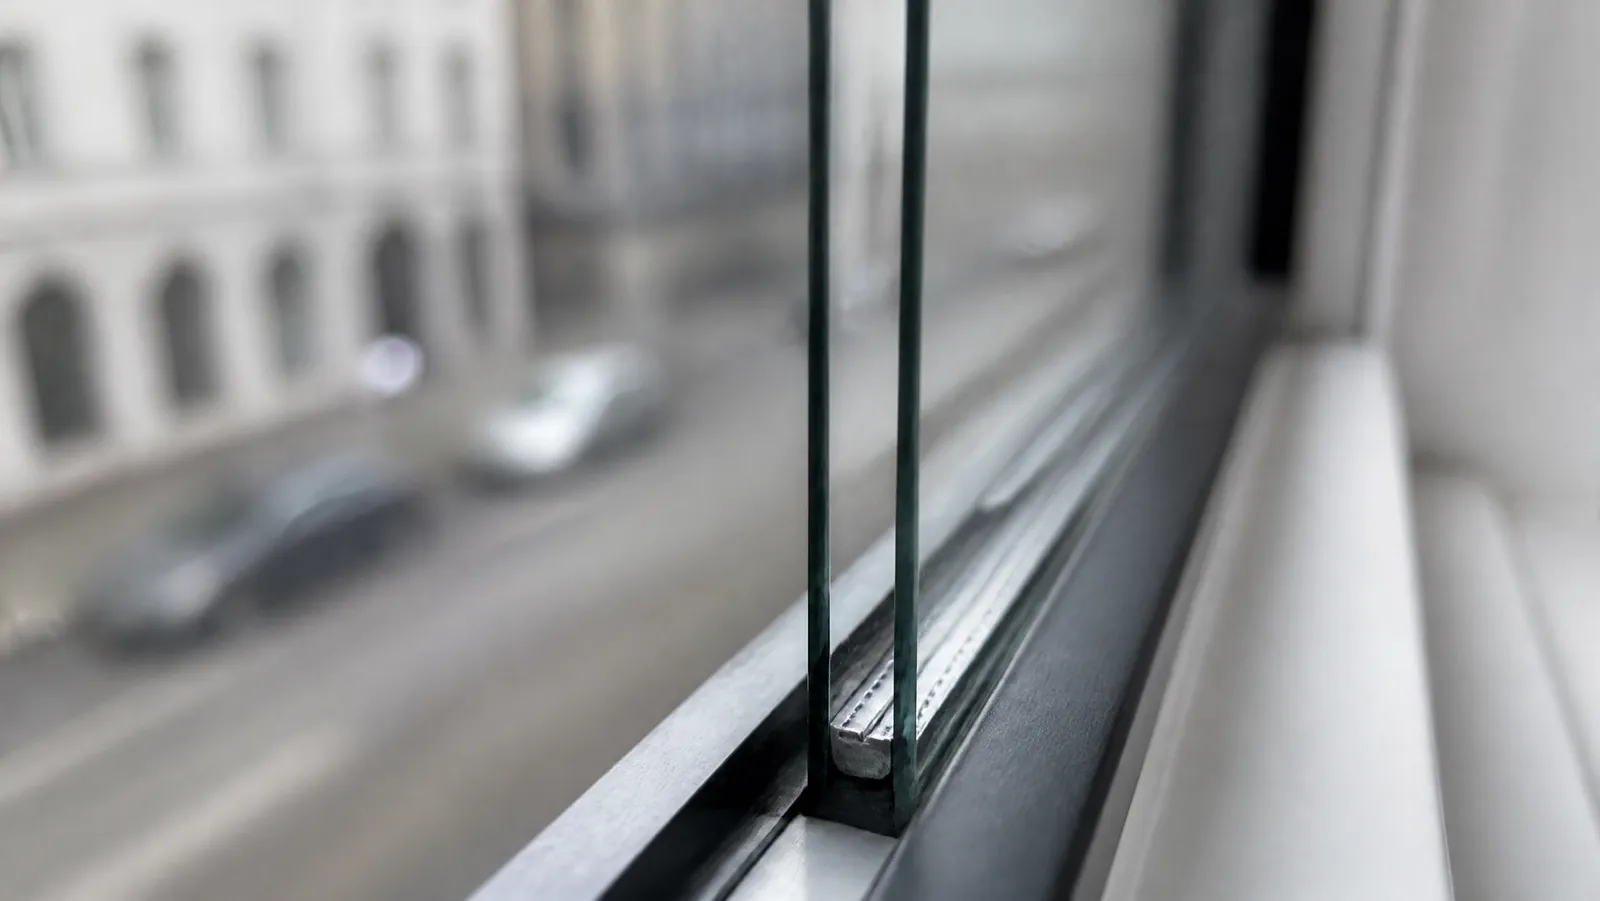
- One thin pane of glass. According to Soundproof Windows, Inc., a single-pane window sits at an STC rating most likely between 26 and 28, typically 27. STC, or sound transmission class, is one number for how much sound an assembly stops across a range of frequencies. Twenty-seven barely counts as a barrier.
- A sash that rattles in its channel. It vibrates when a truck goes past and re-radiates that energy into your room. The rattle itself is also what wakes you.
- Worn or painted-over parting beads and stops — the thin wood strips that hold each sash in its track. After a century of paint and movement, the fit they were built to provide is gone.
- Sash weight pockets. In most old double-hungs an open cavity runs inside the wall on each side of the window, holding the iron counterweight.
- A gap at the meeting rail, where the two sashes overlap in the middle.
- Rope-and-pulley holes in the jamb, which are literal openings from your room into that cavity.
Count those again. Five of the six are air leaks, not glass problems. That is why sealing comes before shopping.
Sealing sets the ceiling on everything else
Here is the number that should reorder your budget. According to Second Skin Audio's guide to STC ratings, a 1 percent air gap caps the maximum transmission loss of an assembly at roughly 20 decibels no matter what it is built from, and a 5 percent opening takes a wall that would stop 40 dB down to 13 dB.
Read that as a ceiling, not a penalty. Whatever mass you add later cannot beat the number your leaks already set.
For scale: according to the World Health Organization's environmental noise guidance, summarized by the acoustics instrument maker Svantek, road traffic noise should stay below 53 dB Lden and below 45 dB Lnight. You are getting a bedroom under a threshold, not building a studio.
Diagnose first: three tests, fifteen minutes, no money
The flashlight test. At night, lights off inside, have someone run a bright flashlight along the closed window from outside while you watch. Light gets through where air gets through. Do the whole perimeter, including the head of the upper sash, which everyone forgets because nobody looks up.
The paper test. Close the sash on a strip of paper and pull. If it slides out without dragging, that spot is open. Try five or six points per run — an old sash grips in the middle and gapes at the ends.
Listen at the gap. Cup one ear and move slowly along the meeting rail, the side channels, the sill and the pulley plates. Noise arriving through a hole is brighter and more detailed than noise through glass. Where the traffic suddenly gets crisp, that is your first job.
The palm test for rattle. Rest your palm flat on the bottom sash while a bus goes past. If you feel it buzz, or the rattle stops while your hand is there, you have a loose sash and the cheapest win in this article. A decibel meter for renters is useful for before-and-after, but your ear finds leaks better.
Step one: seal the leaks you found
Take them in this order.
- The meeting rail. Most common and usually the loudest, because it sits at chest height in the middle of the opening.
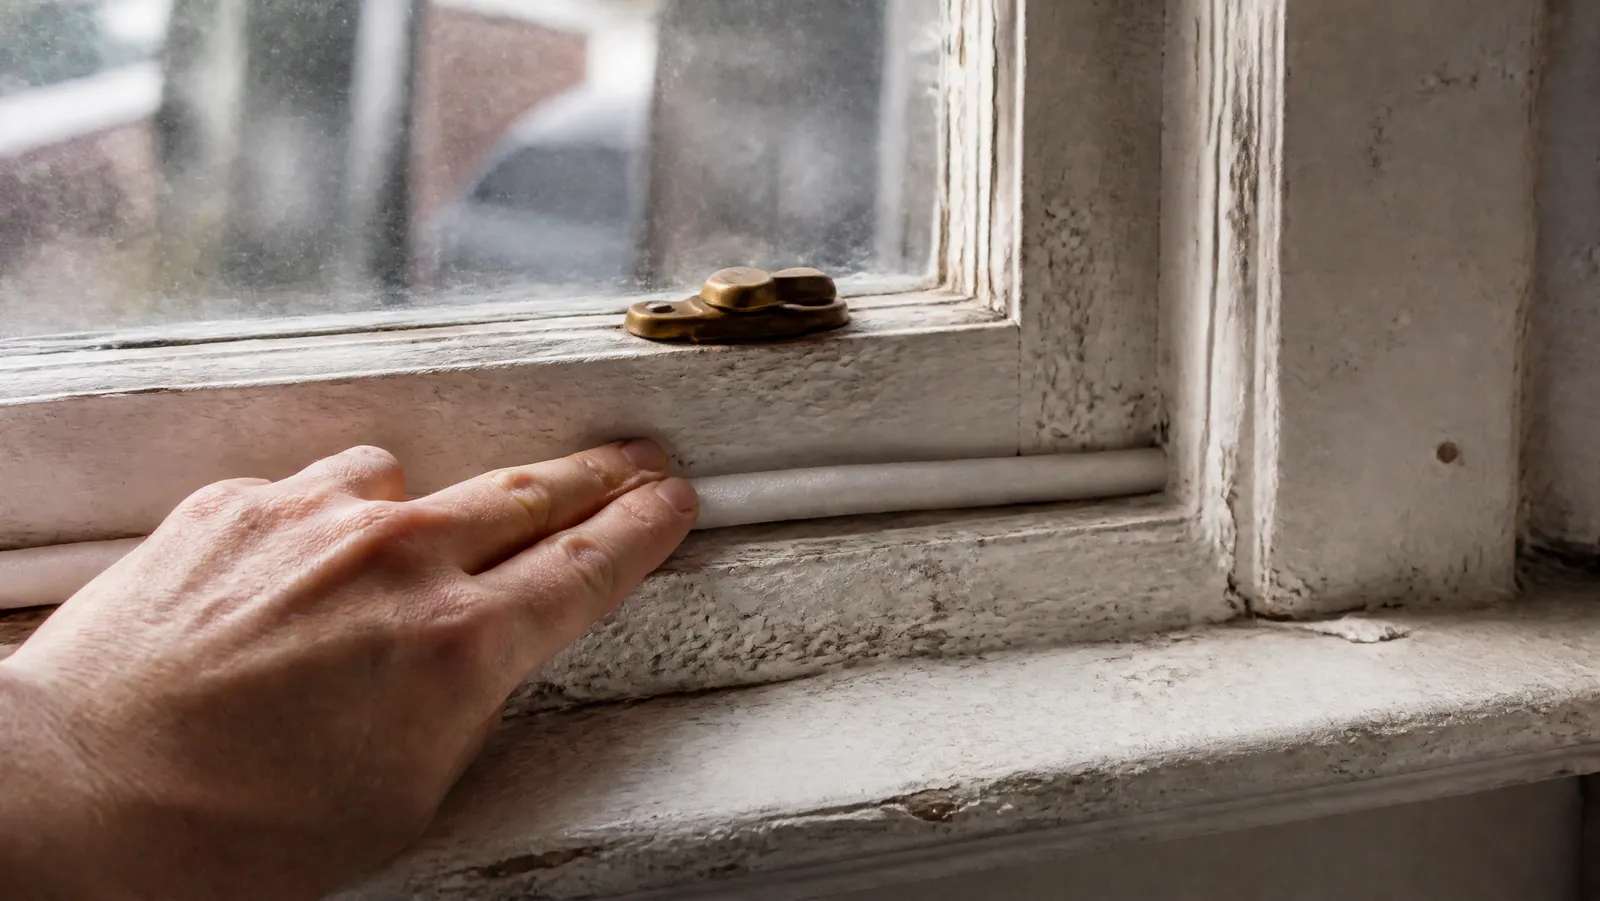
- The side channels. Usually the widest gaps, and the ones that need a sprung V-strip rather than foam, which gets shredded by the sash within a season.
- The sill, under the bottom sash.
- The head, at the top of the upper sash.
- The frame-to-wall joint, outside the window entirely. Removable sealing tape or caulk, not weatherstripping.
Match the shape of the seal to the shape of the gap and almost any decent product works. We go through it profile by profile in our guide to weatherstripping to block street noise.
One note if your building is protected. According to the New York City Landmarks Preservation Commission, ordinary exterior repairs and maintenance — replacing broken window glass, repainting to match the existing color, caulking around windows and doors — do not require Commission approval. Historic-district review is largely concerned with the exterior the street sees, and interior-side weatherstripping is not visible from the sidewalk. That is why every fix here stays on your side of the glass.
The sash weight pocket, the leak almost nobody checks
This one is real, it is large, and most soundproofing advice never mentions it.
The Department of Energy's Building America Solution Center, in its guide to air sealing wood single-pane windows, explains that because "the cavity needs to remain open so that the weight can move, there is no insulation in this section of the wall and the location of the pulley is often in a small opening in the window frame which means cold or hot air can easily flow into the room." The same guide calls those pockets "likely a big source of air leakage."
Read it acoustically: an uninsulated void runs the height of the window on both sides, open to the outdoors through the sheathing and to your bedroom through the pulley hole.
You are a renter, so opening the wall to insulate the pocket is off the table. Closing the opening on your side is not. This Old House, in its walkthrough on insulating a window with sash weights, gives a version any tenant can undo: find the hole where the sash cord meets the pulley, cut a strip of rubber carpet padding to fit, and plug it for the season.
Two cautions. A plug interferes with a cord that still carries a weight, so do it on a sash you keep shut for the season, not one you open daily. And keep it friction-fit — padding you can pull out with your fingers, never adhesive or spray foam.
Step two: stop the rattle
If your palm test buzzed, do this before you spend a dollar on mass.
A loose sash is two problems in one coat. It vibrates in sympathy with whatever passes outside and re-radiates that energy inward, and it clatters. Intermittent noise is, in our experience, what wakes people: a steady wash of traffic can be slept through in a way that a sash knocking twice a minute cannot.
In our experience this is the largest perceptual improvement available on an old window for the least money — and we have no decibel figure for it, because nobody publishes one.
Reversible ways to take the slack out:
- Engage the sash lock. The crescent lock is not just a latch; it cams the sashes together and pulls the meeting rail tight. A surprising number of noisy windows are simply unlocked.
- Shim the channel with compressible weatherstripping or a slim wood shim. Firm enough to stop movement, soft enough that the window still opens.
- Close the meeting rail gap, so the sashes stop knocking against each other.
- Wedge the top of the upper sash, often the real source of a rattle people blame on the lower one.
Friction and compression only. No screws, no adhesive, no drilling into a hundred-year-old casing.
Soundproof single pane windows: what the glass can and cannot do
Now the part you cannot fix, so you can stop trying.
Thin glass has almost no mass, and it has a frequency where it simply gives up. Acousticians call it the coincidence effect: where the wavelength of sound in air matches the bending wavelength of the panel, the glass moves with the sound instead of resisting it, and transmission loss dips. The glazing specialist GLASVUE gives the rule of thumb as a critical frequency of roughly 12,000 divided by the glass thickness in millimeters, putting 8mm glass near 1,500 Hz — which the company notes "sits squarely in the middle of the range for human speech and common traffic-related noises."
Here is the wrinkle for old windows. Thinner glass pushes that dip upward, not down. Miglas Windows puts the coincidence dip of 4mm float glass at approximately 3,125 Hz and 12mm float glass at around 1,040 Hz, and GLASVUE places 3mm glass near 4,000 Hz, "a range where the human ear's sensitivity begins to decline."
So the weak spot in your antique pane lands in the bright top of street noise — brake squeal, tire hiss, sirens — not in truck rumble. The rumble gets through for a simpler reason: 3mm of glass weighs almost nothing, and low frequencies are stopped by mass.
Spec sheets mislead here too. Commercial Acoustics notes that STC is calculated over 125 to 4000 Hz while OITC, the outdoor-indoor transmission class defined by ASTM E1332, runs from 80 to 4000 Hz — a full octave lower, weighted for real outdoor traffic. The same assembly might rate STC 35 and OITC 26, and as Commercial Acoustics puts it, "a high-STC, low-OITC window will read as 'good' on a spec sheet and still let truck rumble through unimpeded." For street noise, OITC is your number. The question underneath all of this — does double glazing block noise, and by how much — deserves a page of its own, and we wrote one.
None of it is fixable from inside a lease, which is why the next step ignores the glass entirely.
Step three: add mass with a sealed air gap behind it
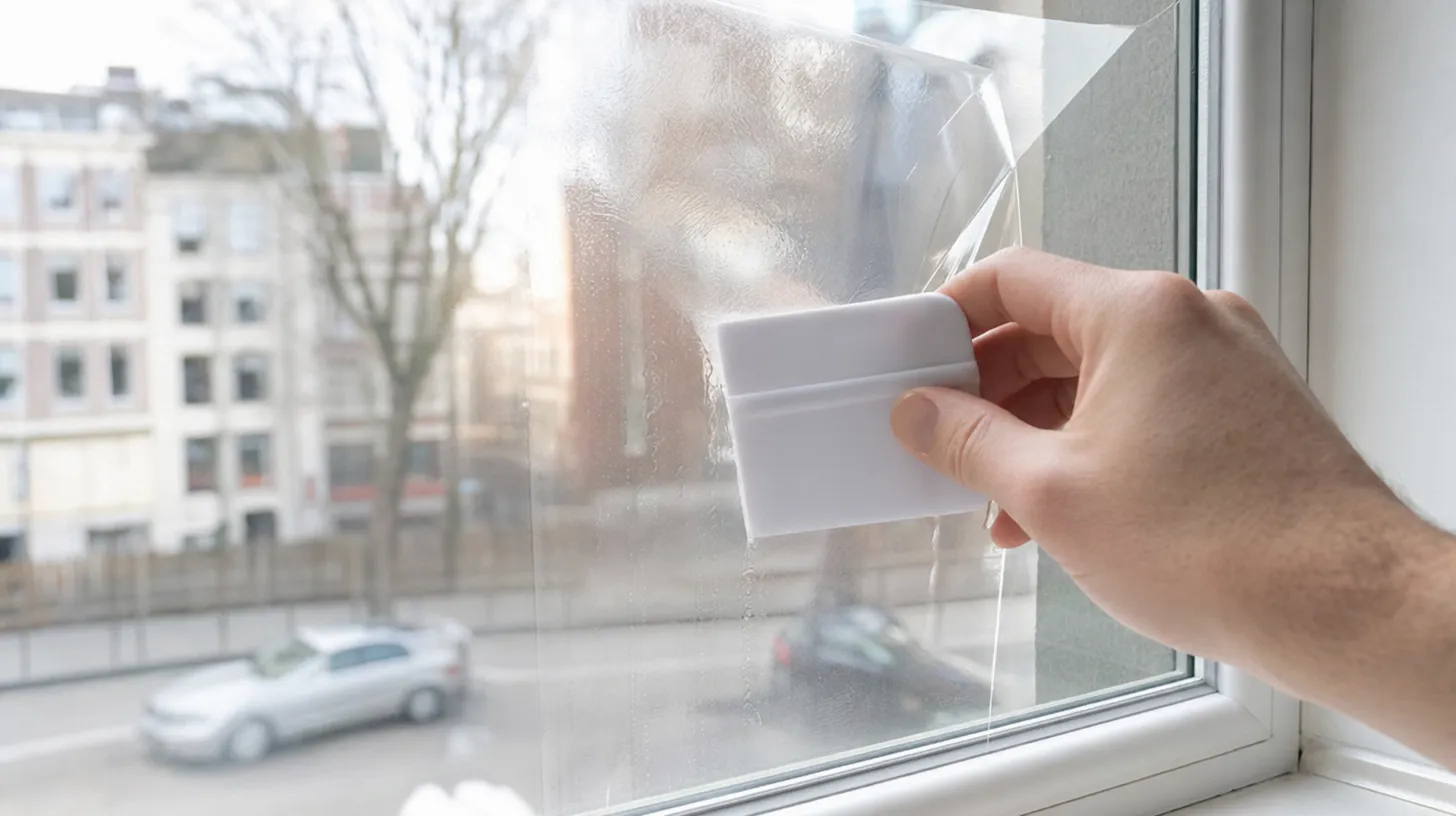
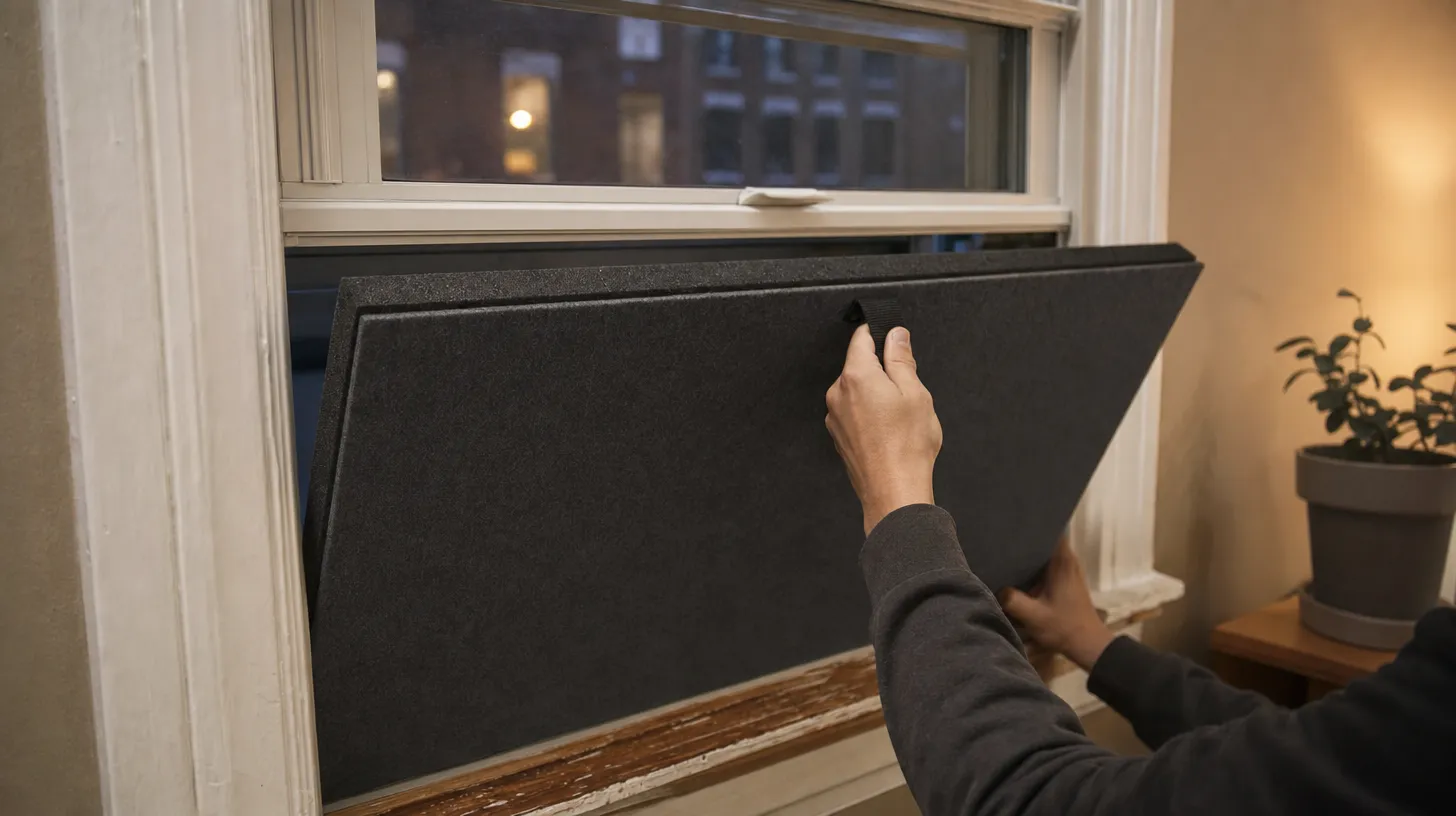
Everything above closes holes. This is the first step that adds a barrier, and it only performs on a window you have already sealed. The mechanism: a second rigid layer held a couple of inches off the original glass, edges sealed.
Manufacturer figures give the scale. Window Savers, which makes interior magnetic storm windows, publishes results from testing with a 2-inch air gap in which standard 1/8-inch Plexiglas achieved 9.5 dB of noise reduction and 3/16-inch Plexiglas reached 14 dB. Those are the maker's own numbers, not independent measurements, but the pattern is the point: the thicker panel did better, because mass is the lever.
At the top of the ladder, Soundproof Windows, Inc. rates its interior units at STC 48 to 54 over a single pane, against that STC 27 baseline, and says an increase from STC 28 to 38 means 90 percent of the noise is reduced, and a change from 28 to 43 over 95 percent. We cover the bought version in do soundproof window inserts work.
The renter-budget version of identical physics is a DIY soundproof window plug: a rigid panel cut to friction-fit inside the opening, sealing against the stops. It blacks the window out, so treat it as a night-use object — in at bedtime, out in the morning. On an old sash it has one real advantage over a bought insert: you can cut a plug to a frame that is not square.
Step four: treat the room, last and least
Once the window is sealed, de-rattled and layered, what is left is bouncing around a hard room. Fabric helps with the bouncing, not the arriving.
Heavy curtains absorb mid and high frequencies and take the edge off sirens and voices. They do very little against low-frequency rumble, and they are not a barrier, because air walks around the sides. Hang them high and wide, and read our comparison of soundproof curtains versus window inserts before assuming the two compete for the same job.
Soundproof sash windows in a rental: the lines we do not cross
- Nothing permanent on the sash. Friction, compression and peelable tape only. Test any adhesive on two inches of hidden frame channel first, leave it a day, then pull — painted wood in a century-old apartment lifts.
- No drilling into the casing, ever. Every fix above works without a screw.
- Do not disturb glazing putty, beads or stops. That is repair work on someone else's building, and in a protected district it can be regulated.
- Never seal a window that is your emergency exit. It stays operable.
- Never seal a room that needs air. Gas appliances, space heaters, damp rooms.
If you only have one afternoon and thirty dollars
- Run the palm test. If the sash rattles, lock it and shim the channel. Free, or a few dollars of foam, and the change you are most likely to notice tonight.
- Run the flashlight and paper tests, and write down every gap with a measurement at the top, middle and bottom of each run.
- Buy one roll of foam tape and one roll of V-strip, roughly fifteen to twenty dollars between them as of September 2026. Foam on the compression faces, V-strip in the sliding channels.
- Plug the pulley holes on any window you keep shut for the season, with friction-fit padding you can pull straight back out.
- Sleep on it before buying anything else.
If the room went quiet, your problem was leaks and you fixed it for the price of lunch. If the sharp edges are gone but the traffic is not, the next purchase is mass with an air gap behind it. If it arrives as much through the wall as the window, the window was never the whole story — our guide to blocking traffic noise in a bedroom takes it room-wide.
The bottom line
An old window is not one problem. It is a thin pane, a loose sash, a worn seal, an open weight pocket and a hole around a pulley, all pretending to be one problem because they arrive at your pillow together.
Take them apart in order. Seal first, because leaks cap everything after. De-rattle second, because it is nearly free and it is what you will notice. Add mass third, treat the room last, and skip the glass — in a rental, the pane is the one variable that is not yours to change.
For the full menu ranked by payoff per dollar, our main guide to reducing noise through apartment windows has the complete stack.

Lillie Metayer
Lillie Metayer is the founder of a local program that helps apartment-dwellers take action against noise pollution. Involved in environmental activism since high school, Lillie is passionate about raising awareness of the harms of noise exposure and helping people reduce noise in their communities. In her free time, Lillie enjoys playing the violin and spending time outdoors.